Tired of heading to the driving range every time you want to practice your swing? You don’t need a sprawling estate to bring the golf course home, a dedicated backyard golf setup transforms your outdoor space into a personal athletic retreat. Whether you’re a serious golfer looking to dial in your short game or a casual player who wants to add something fun for family gatherings, building backyard golf features is entirely achievable on a DIY budget. From practice greens to mini courses, these projects blend functional training with outdoor entertainment value. Let’s walk through five practical ideas that’ll get you swinging in your own yard.
Table of Contents
ToggleKey Takeaways
- A backyard golf putting green is the most achievable DIY golf project, requiring less space than a full fairway and delivering fast returns on practice time with proper drainage and either synthetic or natural turf.
- Create multiple practice zones—chipping areas, driving range nets, and mini-golf courses—by combining affordable materials like wooden edging, landscape fabric, and sand bases to transform your outdoor space.
- Fixed-frame golf nets ($500–$2000) provide a stable, professional setup for full-swing practice, while freestanding nets offer portable alternatives for smaller yards and temporary installations.
- Design a 4–6 hole mini golf course using natural obstacles like wooden ramps, sand bunkers, and elevation changes to entertain family and friends while improving your short game.
- Enhance your backyard golf ideas with strategic landscaping—ornamental grasses, seating areas, pathways, and lighting—to create a cohesive outdoor entertainment space without interfering with play.
- Most backyard golf projects require only basic hand tools and standard materials, with setup times of one to two weekends, making them budget-friendly alternatives to expensive driving range memberships.
Build a Putting Green in Your Backyard
A putting green is the most popular, and most doable, golf project for homeowners. It demands less space than a full-size fairway and delivers immediate return on practice time.
Materials You’ll Need:
- Artificial turf (synthetic putting-green grade: 12–16 mm nap is standard) or natural sod (bent grass recommended)
- Landscape fabric or weed barrier
- Sand base (utility or play sand, 1–2 inches)
- Drainage aggregate (crushed stone)
- Wooden or composite edging (2×4 or 2×6 lumber works)
- Copper or plastic cup liner and golf flag
- Landscape marking paint (optional, for hole placement)
Basic Steps:
-
Prepare the Site: Choose a level spot (or slope slightly for realism). Remove grass, weeds, and debris down to bare soil. Compact the ground firmly with a hand tamper or walk it several times to prevent settling later.
-
Add Drainage: Lay 2–4 inches of crushed stone for drainage. This prevents water pooling, which kills putting surfaces. Rake and compact it smooth.
-
Sand Base: Spread 1–2 inches of utility sand, level it with a rake, and compact gently. This creates a firm, even bed for the turf.
-
Install Edging: Secure wooden or composite edging around the perimeter with stakes. This keeps the green defined and makes mowing the surrounding lawn clean.
-
Lay Turf: Roll out artificial putting-green turf (if using synthetic). Seam any joins carefully and secure with landscape nails or adhesive rated for that product. If using natural sod, lay it grass-side-up in staggered rows, water well, and keep it moist for 2 weeks while roots establish.
-
Install the Cup: Drill or cut a 4.25-inch hole at your chosen spot, insert a cup liner, and set a flag.
Pro Tips: Synthetic greens require less maintenance (no mowing, watering, or fertilizer) but cost $8–$15 per square foot installed. Natural bent-grass greens look premium but demand weekly mowing and regular watering. A 500-square-foot green is a good starter size, large enough to practice distance control, small enough to fit most yards. Brush or rake the turf against the nap weekly to maintain its grain and speed.
Create a Chipping Practice Area
Chipping is where scores get made, and a practice area takes 20 minutes and minimal materials. This is ideal for tight yards or as a warm-up zone next to your putting green.
What You’ll Build:
A small elevated landing zone with a short grass or synthetic surface that contrasts with the surrounding lawn. Golfers stand at one end and chip toward a target (a flag, hula hoop, or painted circle).
Materials:
- Short-nap artificial turf (6–8 mm) or resilient natural grass (fescue or bluegrass)
- 2×4 or 2×6 edging (pressure-treated or composite)
- Sand and landscape fabric
- Target markers (flags, cones, or painted line)
- Optional: rubber mats (for a tee line)
Installation:
-
Lay Out the Footprint: Mark a 10×15 foot rectangle (adjust to your space). This gives enough room to set up shots and land balls safely.
-
Build the Border: Secure wooden edging with landscape stakes, driven deep to prevent shifting when you strike balls.
-
Prepare the Base: Remove turf, add 2–3 inches of sand, and level it firmly. Lay landscape fabric over the sand to prevent weed growth and maintain firmness.
-
Install Turf: Unroll synthetic turf or lay sod as described above. Keep the surface slightly elevated (½ inch) above the surrounding lawn for drainage.
-
Create a Tee Line: At one end, place a rubber mat or mark a line with paint. This’s where players stand to chip from.
-
Set a Target: Place a flag or paint a 3-foot circle at the far end. This gives golfers a definite aim point.
Safety Note: Wear safety glasses if hitting real golf balls. Set up the chipping area so balls stay on your property, a net or fence behind the target prevents stray shots from landing in neighbors’ yards. Solid rubber practice balls (quieter, shorter distance) are friendlier for tight spaces than real golf balls.
Install a Golf Net or Driving Range Setup
A golf net turns your yard into a safe practice zone for full swings. You can hit driver, irons, or hybrids without worrying about range balls disappearing into the woods.
Net Systems: What’s Available
- Freestanding nets ($300–$800): Portable, no installation needed, work in confined spaces. Best for apartments or temporary setups.
- Fixed-frame nets ($500–$2000): Anchored to the ground or fence with 4×4 posts or framework. More stable, professional feel.
- Impact screen and launch monitor setup ($3000+): High-end option that pairs a net with technology to track ball flight and spin data.
Installation for a Fixed Net:
-
Choose Location: Pick a level spot with at least 20 feet behind the net for safety (in case a ball caroms out). Ensure water runoff won’t pool around posts.
-
Set Posts or Frame: Most fixed nets use 4×4 posts (pressure-treated) set in concrete. Dig holes 18–24 inches deep, set posts with concrete (80-lb bags), and let cure 48 hours before hanging the net.
-
Attach the Net: Follow the manufacturer’s instructions. Nylon or polyester nets are standard. Ensure grommets are secure and the net has no tears before use.
-
Level the Ground: Compact and smooth the hitting area. Bare soil is fine, or lay a thin rubber mat for comfort during long practice sessions.
-
Add a Tee Marker: Use a tee line mat or painted stripe 15–20 feet in front of the net. Mark distances (100, 150, 200 yards, etc.) on the side fence if you want to track carry distance.
What Nets Don’t Catch: Golf nets stop direct hits but sometimes miss thin, low shots (especially from high-handicap swings) or hard-hit balls at extreme angles. A backstop fence or secondary net behind the main net adds insurance. Wear eye protection when hitting, especially if practicing alone.
Design a Mini Golf Course for Family Fun
Mini golf mixes play with whimsy and is perfect for entertaining. A DIY backyard version skips the castles and windmills but keeps the fun, and fits a compact space.
Layout Strategy:
Plan 4–6 holes on a long, narrow backyard (like a 30×40 foot area). Each hole should be 10–25 feet long. Holes can snake back and forth, using natural grade changes or landscaping features as obstacles.
Building Obstacles:
- Wooden ramps: Use 2×6 lumber angled at 10–15 degrees. Secure with stakes and paint with exterior paint for durability.
- Rock gardens or sand bunkers: Edged areas filled with decorative stone or play sand. Golfers chip over or around them.
- Wooden barriers: Simple 2×4 logs arranged in patterns create natural barriers without blocking sightlines too much.
- Elevation changes: Mound soil to create a small uphill approach or downhill shot. This adds realistic challenge.
Course Setup:
-
Map Holes: Sketch a simple top-down view of your yard. Mark tee boxes and hole locations with distance and obstacles noted.
-
Prepare Tee Boxes: For each hole, designate a tee area (2×3 feet) of short grass or flat synthetic surface, marked with paint or a small sign.
-
Install Greens: Use putting-green turf (synthetic or natural) at each hole. Size them 8×10 feet minimum: larger greens reduce frustration and look more polished.
-
Add Obstacles: Install ramps, bunkers, or barriers between tee and green using the materials above. Use exterior paint or stain to weatherproof wood.
-
Mark Holes: Number each hole with a painted sign or flag. Indicate par (2, 3, or 4 strokes) and distance in yards.
-
Create a Scoreboard: A simple whiteboard or chalkboard mounted near the first tee lets players track scores. Step-by-step project tutorials often cover scoreboard designs if you want to DIY one.
Upkeep: Weekly watering (if using natural grass), raking of sand bunkers, and touching up paint keep the course playable. A mini course is engaging enough for families and competitive enough for skill improvement.
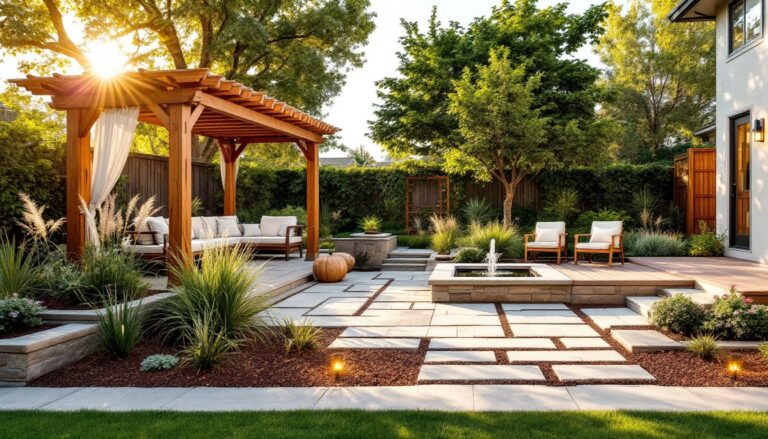
Add Golf-Themed Landscaping and Decor
Beyond the playing surfaces, thoughtful landscaping ties a golf yard together and makes it a cohesive outdoor room.
Landscape Elements:
- Native ornamental grasses: Use tall, wispy varieties (fountain grass, Karl Foerster feather reed grass) to frame greens or divide sections. They’re low-maintenance and add visual depth.
- Strategic plantings: Small shrubs or flowering perennials (not in play zones) soften hard lines and create definition. Check garden design ideas for inspiration on layout and color combinations.
- Pathways: Mulch or pea gravel paths connect tee boxes and greens. Edged with 2×4 lumber, they keep mowers out of play areas and add structure.
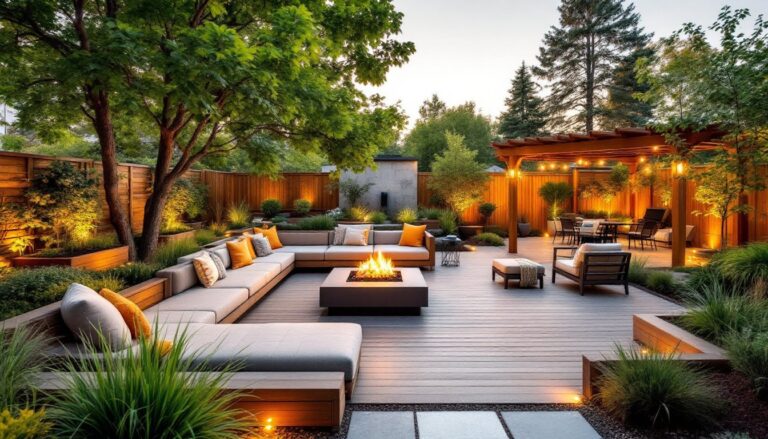
- Seating areas: Position a small bench or adirondack chairs overlooking the green. This encourages others to watch and linger.
Hardscaping:
- Shade structures: A pergola or small pavilion near the putting green creates a social hub, especially if you’re entertaining. It also reduces sun fatigue during practice.
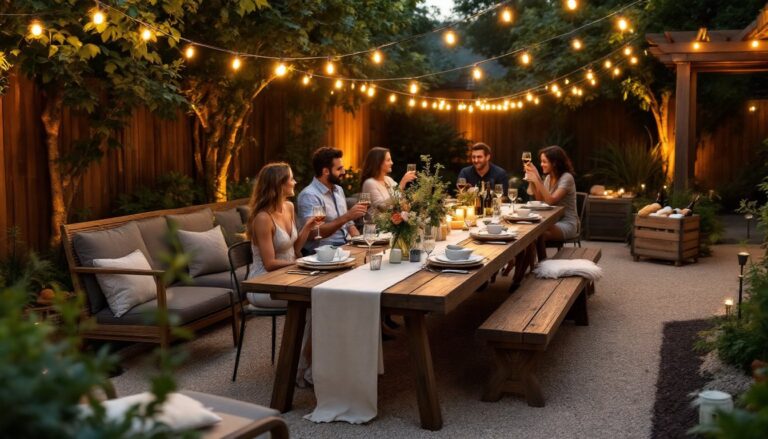
- Lighting: Outdoor LED string lights or pathway lights extend usability into evening and create ambiance for small tournaments or gatherings.
- Signage: Golf-themed signs (“18th Hole,” “Par 3,” course name) personalize the space. Paint them on reclaimed wood or order custom metal signs.
Making It Functional:
Arrange landscaping so it doesn’t interfere with ball flight or sight lines. Dense plantings work at perimeter edges: keep the playing areas open. Natural materials (stone, mulch, native plants) age gracefully and tie in with surrounding yard design, rather than feeling like a jarring installation.
Consider how your entertaining setup works alongside the golf features. A putting green near a patio doubles as both a practice tool and a focal point during gatherings. Entertaining layouts that include a golf component feel intentional and give guests something interactive to enjoy.
Conclusion
Building a backyard golf setup needn’t be complex or expensive. Start small, a putting green or net alone transforms your yard into a practical training ground. From there, add chipping areas, mini-course holes, or decorative landscaping as time and budget allow. Most of these projects use standard materials, hand tools, and a weekend or two of work. The payoff is daily access to practice, entertainment for guests, and a personalized outdoor space that reflects your love of the game. Get measuring, order your materials, and start swinging.