A backyard patio doesn’t require a contractor’s budget or a year-long renovation timeline. Whether you’re working with a few hundred dollars or a couple of thousand, there are straightforward ways to build a durable, attractive patio that actually gets used. This guide walks through seven practical approaches, from gravel bases to reclaimed materials, that homeowners and DIY enthusiasts can tackle with basic tools and a weekend or two of effort. Each option balances cost, durability, and aesthetics, so you can pick what fits your space and skill level.
Table of Contents
ToggleKey Takeaways
- Inexpensive backyard patio ideas range from gravel and crushed stone ($0.50–$1.50 per square foot) to reclaimed brick and salvaged materials, all achievable with basic tools and DIY effort.
- Gravel patios offer maximum budget flexibility and easy redesign but require annual maintenance and edging to prevent migration onto grass and walkways.
- Painted or stained concrete transforms existing slabs into attractive features for $1–$3 per square foot, with prep work being the most critical factor for durability.
- Reclaimed brick and salvaged pavers deliver character and decades-long durability at $2–$5 per square foot, significantly cheaper than new materials while improving with age.
- Solar lights, trellises, climbing vines, and container plants are inexpensive finishing touches that elevate any budget patio by adding ambiance, privacy, and intentionality.
- Choose your inexpensive backyard patio method based on traffic level and timeline: gravel for flexibility, reclaimed materials for longevity, or mulch for soft seating areas.
Gravel and Crushed Stone Patios
A gravel patio is about as budget-friendly as it gets. You’ll need to excavate 4 to 6 inches deep, lay down landscape fabric (which prevents weeds and lets water drain), then spread crushed stone or gravel evenly across the area. Compact the top layer lightly so it settles without washing away in the first rain.
The upfront cost typically runs $0.50 to $1.50 per square foot for materials, making it ideal for large areas where other options feel prohibitive. Gravel won’t last forever, you’ll rake and re-level it annually, and you’ll need to top it up every 2–3 years. But it’s forgiving to install, requires no special skills, and you can expand or redesign the shape easily.
One real advantage: gravel sheds water instantly, so you won’t deal with puddles or frost heave. The downside is that it migrates onto grass, into shoes, and under furniture if not contained. Use a steel or aluminum edging strip (simple metal borders available at any hardware store) to keep gravel in place and define the patio boundary cleanly.
DIY Pallet Wood Deck and Seating Areas
Reclaimed shipping pallets are often free or under $5 each if you source them locally. Sanded, stained, and secured to a gravel or crushed stone base, they create a casual deck surface that’s sturdy enough for foot traffic and seating. You’ll need a few pressure-treated 4×4 posts or concrete pavers to elevate the pallets slightly off the ground so air circulates underneath and prevents rot.
Stack and bolt the pallets together with 3/8-inch galvanized bolts, then sand smooth with a 120-grit orbital sander to remove splinters. Paint or stain them to protect against weather. A deck spanning 12 × 16 feet might use 15–20 pallets and a couple of hundred dollars’ worth of fasteners and sealant.
The catch: pallets vary wildly in condition, and some have been treated with pesticides (avoid those marked “HT” if they also show “DB”, those are chemically treated for shipping). Inspect for rot, nail holes, and warping before committing pallets to the project. This option works best for smaller patios or deck areas adjacent to a house rather than as the sole patio surface for large gatherings.
Painted Concrete Surface Solutions
If you already have a concrete slab, whether a driveway apron or old patio, painting or staining it is one of the fastest refreshes available. Clean the surface thoroughly with a pressure washer (2500–3000 PSI), let it dry completely, then apply a concrete primer and two coats of exterior-grade paint or concrete stain. Budget roughly $1–$3 per square foot for materials.
Concrete paint holds up reasonably well for 3–5 years before peeling, especially in freeze-thaw climates. Stain (which penetrates rather than sits on top) lasts longer and hides wear better. Both mask minor cracks and discoloration, and you can use patterns or two-tone designs to make the space feel intentional rather than utilitarian.
The real work is prep: any loose paint, algae, or dirt must go. Grinding or acid-etching the surface ensures the new coating bonds properly. If the concrete has deep cracks or spalling, fill them with a concrete patching compound before painting. This approach transforms a gray, bare slab into a feature for under $200, making it ideal when budget is tight but you have existing infrastructure.
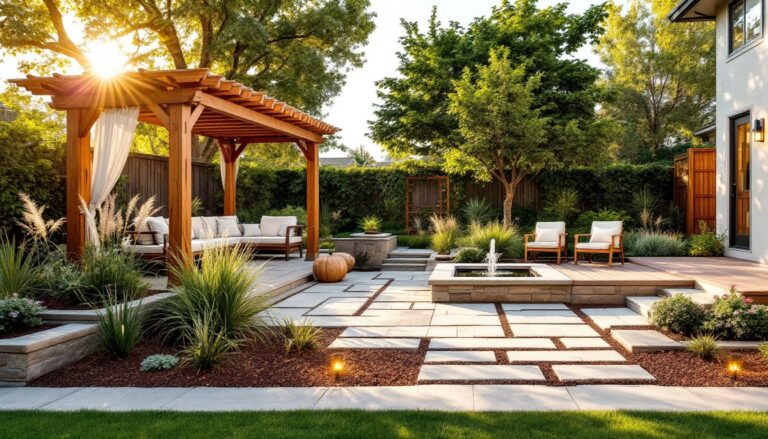
Reclaimed Brick and Salvaged Material Patios
Reclaimed brick, salvaged pavers, and repurposed stones carry charm and durability at a fraction of new material cost. Check local deconstruction services, salvage yards, and online marketplaces for bulk deals. A square foot of reclaimed brick often runs $2–$5 compared to $8–$12 for new, and older brick weathers beautifully over time.
Lay a 2-inch sand base over compacted soil, then set brick or pavers in a running-bond or herringbone pattern (herringbone looks formal but requires more cuts). Fill gaps with polymeric sand (it binds when wet, locking pavers in place without mortar). This method avoids concrete and allows water drainage, which prevents pooling.
Reclaimed materials come in varied thicknesses, so you’ll need a rubber mallet and level to keep everything flush. Plan on 4–6 hours per 100 square feet for a single person. The main payoff: a patio with character and the structural integrity to last decades. Material cost for a 200-square-foot area might run $400–$800, solid value for a hardscape that’ll outlast cheaper options and get better with age.
Mulch and Landscape Fabric Foundations
A mulch and landscape fabric foundation offers a soft, permeable base perfect for small patios, seating nooks, or transitional spaces between garden beds. Lay heavy-duty landscape fabric (6-mil or thicker) over leveled soil, overlap seams by 12 inches, and staple edges to keep them from lifting. Top with 3–4 inches of mulch, hardwood, cedar, or recycled rubber all work depending on your aesthetic and budget.
Cost runs roughly $0.30–$0.70 per square foot, making it one of the cheapest options available. You’ll need to refresh mulch annually since it decomposes, but that’s a simple task. The softness underfoot is great for sitting areas, kids’ play zones, or informal gathering spots. Drainage is excellent, and the fabric suppresses weeds effectively.
The downside is that mulch migrates, especially under foot traffic or rain splash. Define edges with a landscape border edging or metal flashing to contain it. Mulch also attracts some pests and can harbor mold in overly shaded, damp spots, so ensure at least partial sunlight and reasonable air circulation. This isn’t a surface for high-traffic family gatherings, but it’s perfect for boutique outdoor moments and <a href="https://homesteadbit.com/small-backyard-entertaining-area/”>small backyard entertaining setups.
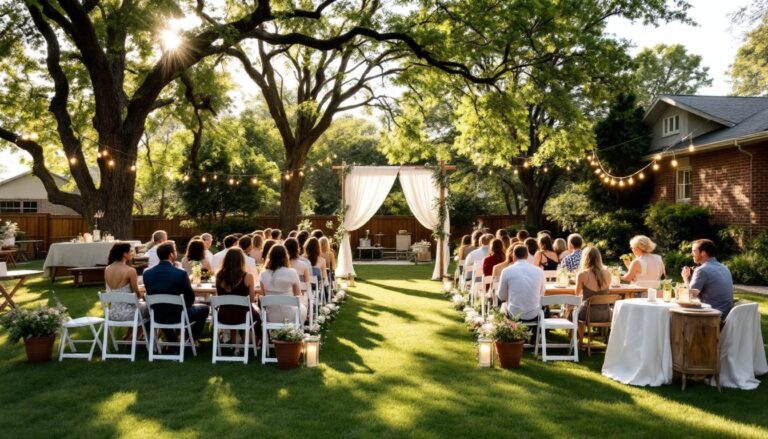
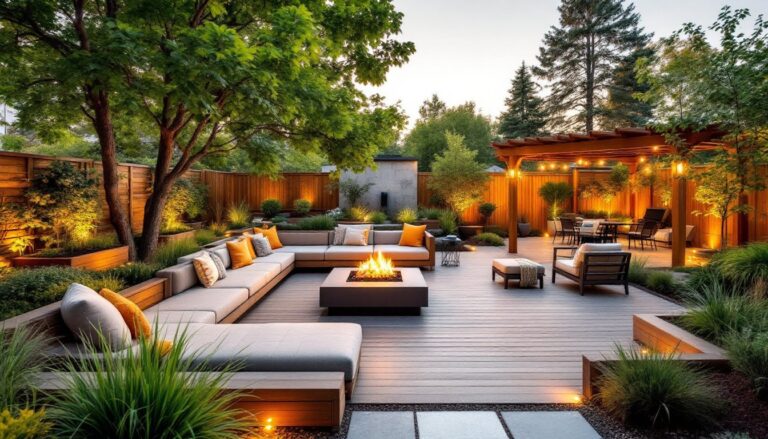
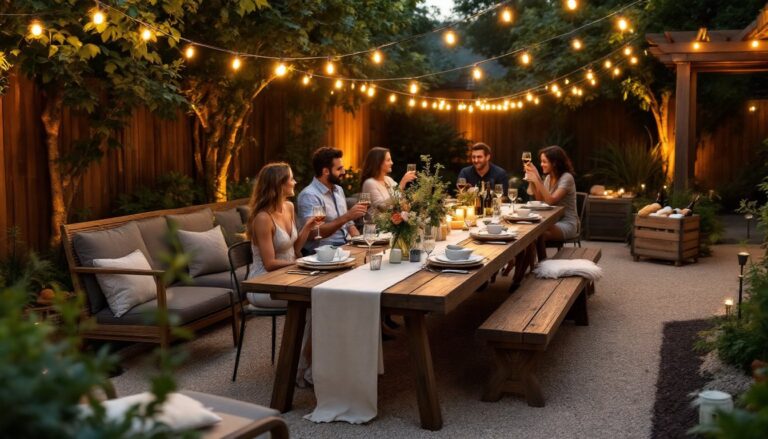
Budget Lighting and Greenery Enhancements
The patio surface is only half the story. Backyard entertaining essentials like solar string lights, stake-mounted path lights, and simple planters transform even a basic gravel pad into an inviting space without very costly. Solar lights cost $15–$40 per set and require zero wiring or maintenance, perfect for renters or trial runs.
Add climbing vines on a trellis (even a DIY frame made from 2×2 lumber costs under $50), hang a few fabric shade sails, or dot the perimeter with potted trees and shrubs. These greenery touches soften hardscapes, define seating zones, and create a sense of privacy and intentionality. Container gardening is flexible: swap plants seasonally without permanent installation.
Consider visiting resources like Better Homes & Gardens for plant pairing and seasonal decoration ideas that fit your climate. The key is layering inexpensive elements, lighting, color, and living plants, so the entire space feels cohesive and cared for rather than half-finished. A bare patio with thoughtful lighting and a few planters reads as intentional: the same surface without these touches feels neglected.
Conclusion
Building an inexpensive backyard patio doesn’t mean settling for temporary or low-quality results. Choose a method that matches your timeline, skill level, and long-term use, gravel for flexibility, reclaimed materials for durability, or mulch for softness. Layer in lighting and greenery to complete the transformation. The best patio is one you’ll actually use, so start small, test your design, and expand once you see what works.