Rocks aren’t just landscape filler, they’re hardworking design elements that solve real backyard problems. Whether you’re dealing with poor soil, bare patches, or simply want to define your outdoor spaces without constant maintenance, strategic rock placement delivers both function and curb appeal. From decorative garden beds to fire pit surrounds, rocks offer flexibility for every budget and skill level. This guide walks you through practical backyard rock ideas that blend aesthetics with durability, helping you build an outdoor space that actually works for your lifestyle.
Table of Contents
ToggleKey Takeaways
- Backyard rock ideas like decorative rock gardens replace high-maintenance turf with drought-tolerant plants, requiring minimal watering and weeding once established.
- Rock pathways with a proper 3–4 inch gravel base and drainage layer prevent mud and settling while creating visual cohesion throughout your yard.
- Water features using stacked stones with submersible pumps mask noise and elevate a space, but require regular basin top-ups and pump maintenance in hot months.
- Rock edging containing mulch and preventing grass encroachment makes lawn care cleaner and reduces spreading costs while defining garden boundaries crisply.
- Color and size selection—warm tones for intimacy, cool tones for modern appeal, and odd-numbered larger anchor rocks—create intentional visual hierarchy and impact.
- Stone features are durable long-term investments lasting 15+ years with minimal maintenance, only requiring seasonal sweeping and occasional re-leveling of settled edging.
Decorative Rock Gardens: A Timeless Foundation for Low-Maintenance Landscaping
A well-designed rock garden replaces thirsty turf with plants that thrive in less soil and water. Start by selecting a location with at least 4–6 hours of direct sunlight, then remove any existing grass and weeds. Lay down landscape fabric (a woven barrier that blocks weeds while allowing water drainage) and overlap pieces by 12 inches to prevent gaps where weeds sneak through.
Choose larger anchor rocks (2–4 feet wide, 200+ pounds) as focal points, then fill around them with smaller accent stones. Dwarf conifers, sedums, and ornamental grasses work well in rock gardens because they tolerate poor soil and drought. Space plants according to their mature size, crowding leads to disease and competition. Once plants are settled, spread a 2–3 inch layer of smaller pea gravel or river rock around them to suppress moisture loss and define plant zones.
This approach cuts maintenance dramatically. You’ll weed occasionally, but far less than a traditional bed, and watering becomes infrequent once plants establish. Rock gardens work especially well on slopes, where erosion is an issue, or in shaded areas where grass struggles. The initial setup takes a weekend, and the payoff compounds each season.
Rock Pathways and Walkways: Guide Your Guests With Style
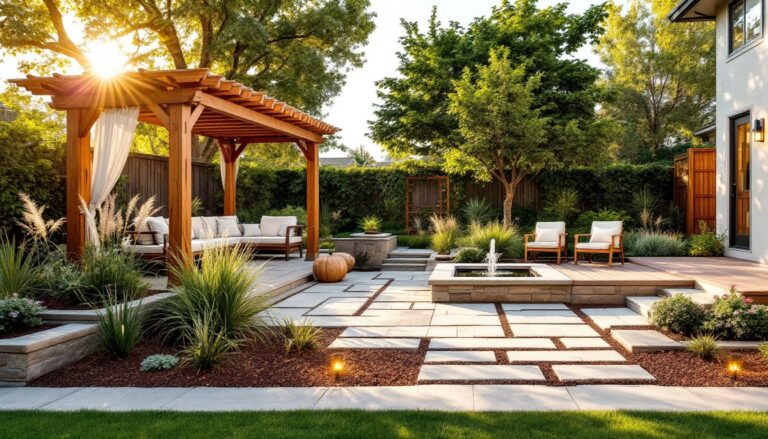
A rock pathway isn’t just functional, it’s a visual anchor that ties your yard together. Begin by marking your route with a garden hose or chalk, then excavate to a depth of 4–6 inches (deep enough to accommodate the base and stone without settling unevenly). Remove roots and compacted soil.
Lay a base layer of coarse gravel (3–4 inches) and compact it with a hand tamper or plate compactor. This drainage layer prevents the path from becoming a mud trap after rain. On top, set your chosen stones, flagstone, slate, or bluestone pieces work well for formal looks, while irregular stacked stone or river rock feel more rustic.
If using large flat stones, set them in a sand bed (1 inch of compacted sand) and tap them level with a rubber mallet. For smaller stones, dry-lay them (no mortar) or set them in polymeric sand, which hardens when wet and keeps stones locked in place without the permanence of mortar. Leave 1/2-inch gaps for drainage and future settling. Sweep polymeric sand into gaps, mist lightly with a hose, and let it cure per manufacturer instructions.
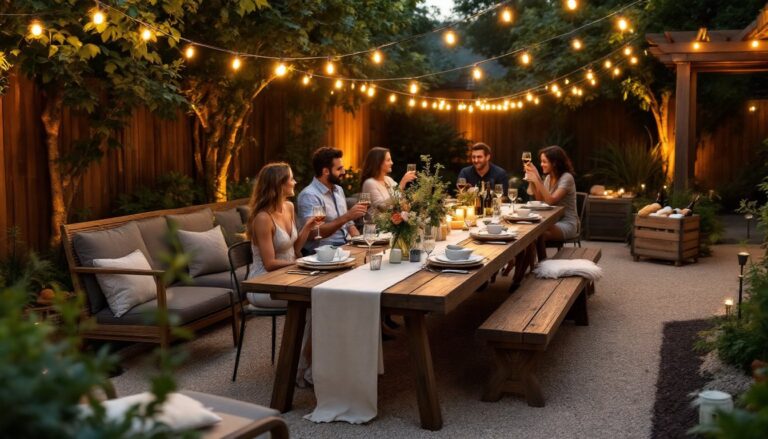
A 3-foot-wide path accommodates two people walking side-by-side. You can discover entertaining essentials to pair with your pathway for a complete outdoor experience.
Water Features With Rock Elements: Creating Focal Points and Ambiance
Adding water to a rock feature instantly elevates a backyard from basic to inviting. A simple rock water feature, a basin nestled within stacked stones with water cascading over them, requires minimal plumbing and delivers major impact. You’ll need a submersible pump, vinyl tubing, and a basin (either purchased or DIY’d from a large stone bowl or reinforced container sunk into the ground).
Stack your rocks around the basin, securing them with landscape adhesive (product designed for outdoor stone bonding) rather than mortar, which cracks outdoors. Alternatively, build a traditional water feature with a recirculating pump that pulls water from a basin below and sends it up and over stacked stones. The key is making sure water reaches the basin consistently, otherwise the pump runs dry and burns out.
Flaggstone or slate pieces positioned over the basin let water sheet gracefully down the face. The sound of flowing water masks street noise and creates a soothing backdrop for outdoor relaxation. Plan the feature in a location where you can access the pump for cleaning (debris clogs intake screens), and keep the basin topped up during hot months when evaporation accelerates. Resources like Gardenista offer practical guidance on using rocks as focal points in garden design.
Rock Edging and Borders: Define Your Garden Beds With Clean Lines
Edging prevents mulch from creeping into lawn and defines bed boundaries crisply. Natural stone edging is low-maintenance and blends with any landscape style. Large flat stone pavers (2 feet long, 6 inches tall) stacked and partially buried edge formal beds, while irregular fieldstone suits rustic gardens.
To install, dig a shallow trench along your bed perimeter (deep enough that the stone sits 1–2 inches above soil, preventing grass encroachment). Set stones in the trench using the surrounding soil as a base, no mortar needed for casual looks. For a more permanent installation, set stones on a 1-inch sand bed to ensure they don’t tip or settle unevenly. Tap each stone level with a rubber mallet before moving to the next.
River rock or pea gravel stuffed between large border stones fills gaps and holds them in place while looking intentional. This approach keeps grass from creeping into beds and makes lawn mowing cleaner (you’re not trimming around a soft edge). Edging also contains mulch and prevents it from spreading into turf, which saves money and maintenance over time. The visual line a good edge creates, even without elaborate landscaping, makes a yard feel designed rather than random.
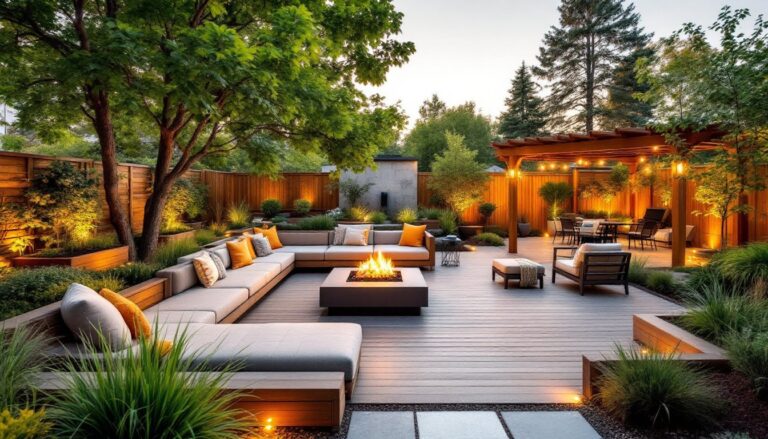
Fire Pit and Seating Arrangements: Building Community Spaces With Stone
A stone fire pit becomes the heart of backyard entertaining. Check local fire codes before building, some jurisdictions require a permit or specify distance from structures (typically 10–15 feet from buildings and trees). Assemble a fire ring kit (metal insert designed to contain flames and coals) or build one using fire-rated bricks stacked in a circle.
For a semi-permanent ring, dig a level hole 3–4 feet in diameter and 12 inches deep. Lay a base of gravel for drainage, then stack fieldstone or stacked stone around the perimeter, securing with landscape adhesive. The metal ring fits inside and contains the fire: without it, the stone itself becomes too hot and can crack from thermal stress. Your stone is the frame, not the fire container.
Arrange seating stones or a built-in bench around the pit at safe distance. Large, flat stones (20–30 inches wide, 16 inches tall) set on gravel or sand serve as perches and look intentional. Backyard designs for entertaining should include adequate seating and clear sightlines. Create a level ground surface with compacted gravel around the pit so chairs sit stable. This becomes your gathering space, worth the effort to get right. Proximity matters: if seating is too far away, nobody will use the pit. Too close, and heat and smoke drive guests away.
Choosing the Right Rocks: Types, Colors, and Placement for Maximum Impact
Rock selection shapes your entire landscape’s character. Granite is durable and comes in warm (tan, pink) and cool (gray, black) tones: it’s pricey but lasts decades. Limestone and travertine offer softer, beige palettes and work well in Mediterranean or rustic designs: they’re more affordable but weather faster in cold climates. Slate and bluestone split into flat layers, making them ideal for pathways and edging. River rock and pea gravel are budget-friendly fillers that soften hard edges.
Color matters more than most DIYers realize. Warm stones (tan, terracotta, rust) make spaces feel intimate and sun-soaked: cool stones (gray, black, blue) read modern and sophisticated. Pull samples from suppliers and see them in your yard at different times of day, afternoon light hits warm tones differently than morning light. Choose stones that echo existing hardscape (your patio, driveway, home exterior) for cohesion.
Larger anchor rocks draw the eye and anchor a space: surround them with progressively smaller stones to create visual hierarchy. Odd numbers feel more natural (three large boulders trump four), and asymmetrical placement looks intentional rather than accidental. Avoid placing similar-sized stones in a row, it reads like a fence and feels constraining. Mix sizes, leave negative space, and let stone sizes vary to create visual interest. The Spruce and similar home improvement resources offer deep dives into color theory and material selection for landscape design.
Maintenance Tips for Long-Lasting Rock Features
Rock doesn’t require fertilizing or pruning, but it does need occasional attention to stay functional. Sweep pathways and decorative beds seasonally to remove leaves and debris that trap moisture and accelerate moss or algae growth on stone. If green growth appears, scrub with a stiff brush and a solution of 1 part white vinegar to 3 parts water (test on inconspicuous stone first: some rocks stain). For stubborn buildup, a pressure washer works but keep the nozzle 12 inches away and never use the jet directly on stone joints.
Check edging annually to ensure settling hasn’t created gaps where grass creeps back in. Re-level or reset stones as needed. Weeds do grow through gravel: pull them by hand when young (early season is easiest) or use a pre-emergent herbicide before weeds sprout, this prevents seeds from germinating without harming soil. Avoid post-emergent herbicides in planting beds where you have desirable plants.
River rock and gravel compact and migrate over time: top-dress every 2–3 years with fresh material to maintain depth and suppress weeds. This is a half-day job, not major work. If you’ve built with polymeric sand in pathways, weeds still appear occasionally but pull out easily since the sand holds only the path surface stable. Stone itself doesn’t rot or degrade quickly, most backyard rocks last 15+ years with minimal fuss, making rock features among the best long-term outdoor investments you can make.